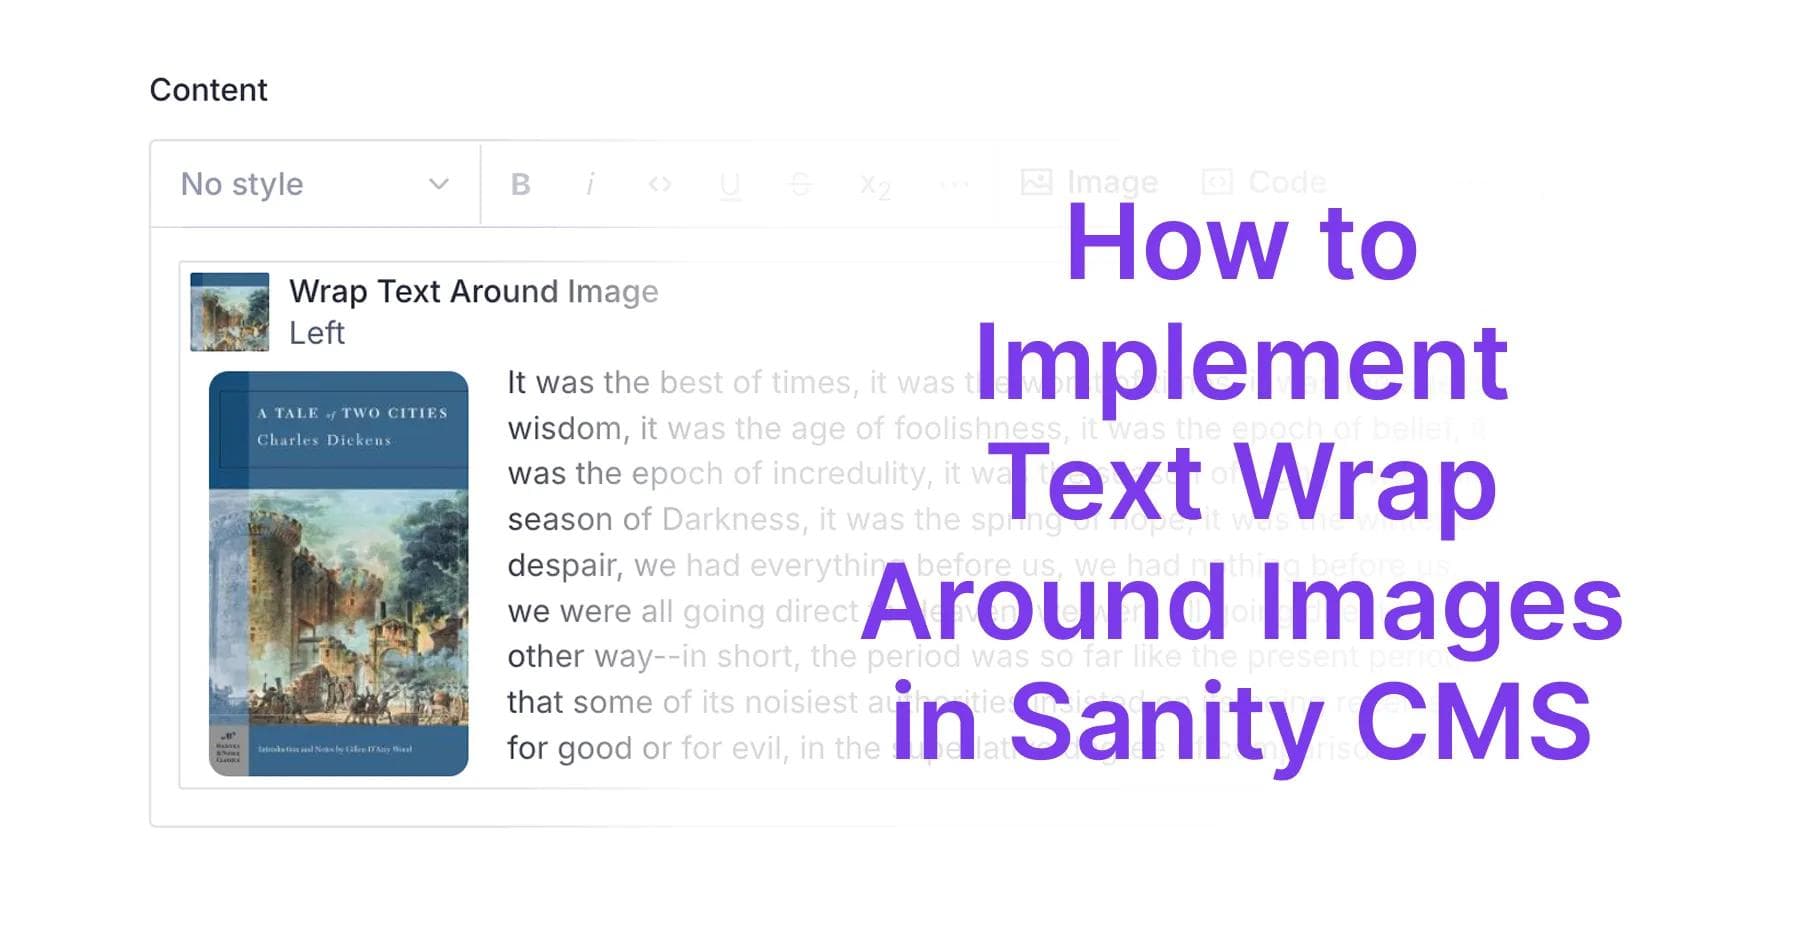
One of the most frustrating limitations content editors face when working with Sanity CMS is the inability to naturally wrap text around images. While platforms like WordPress and Webflow offer this functionality out of the box, Sanity's structured content approach requires a custom solution to achieve this fundamental layout technique.
Text wrapping (or floating images) is essential for creating visually appealing, readable content that integrates images naturally with your text. Without it, content can feel rigid and disconnected, with images either stacked between paragraphs or taking up the full width of the content area.
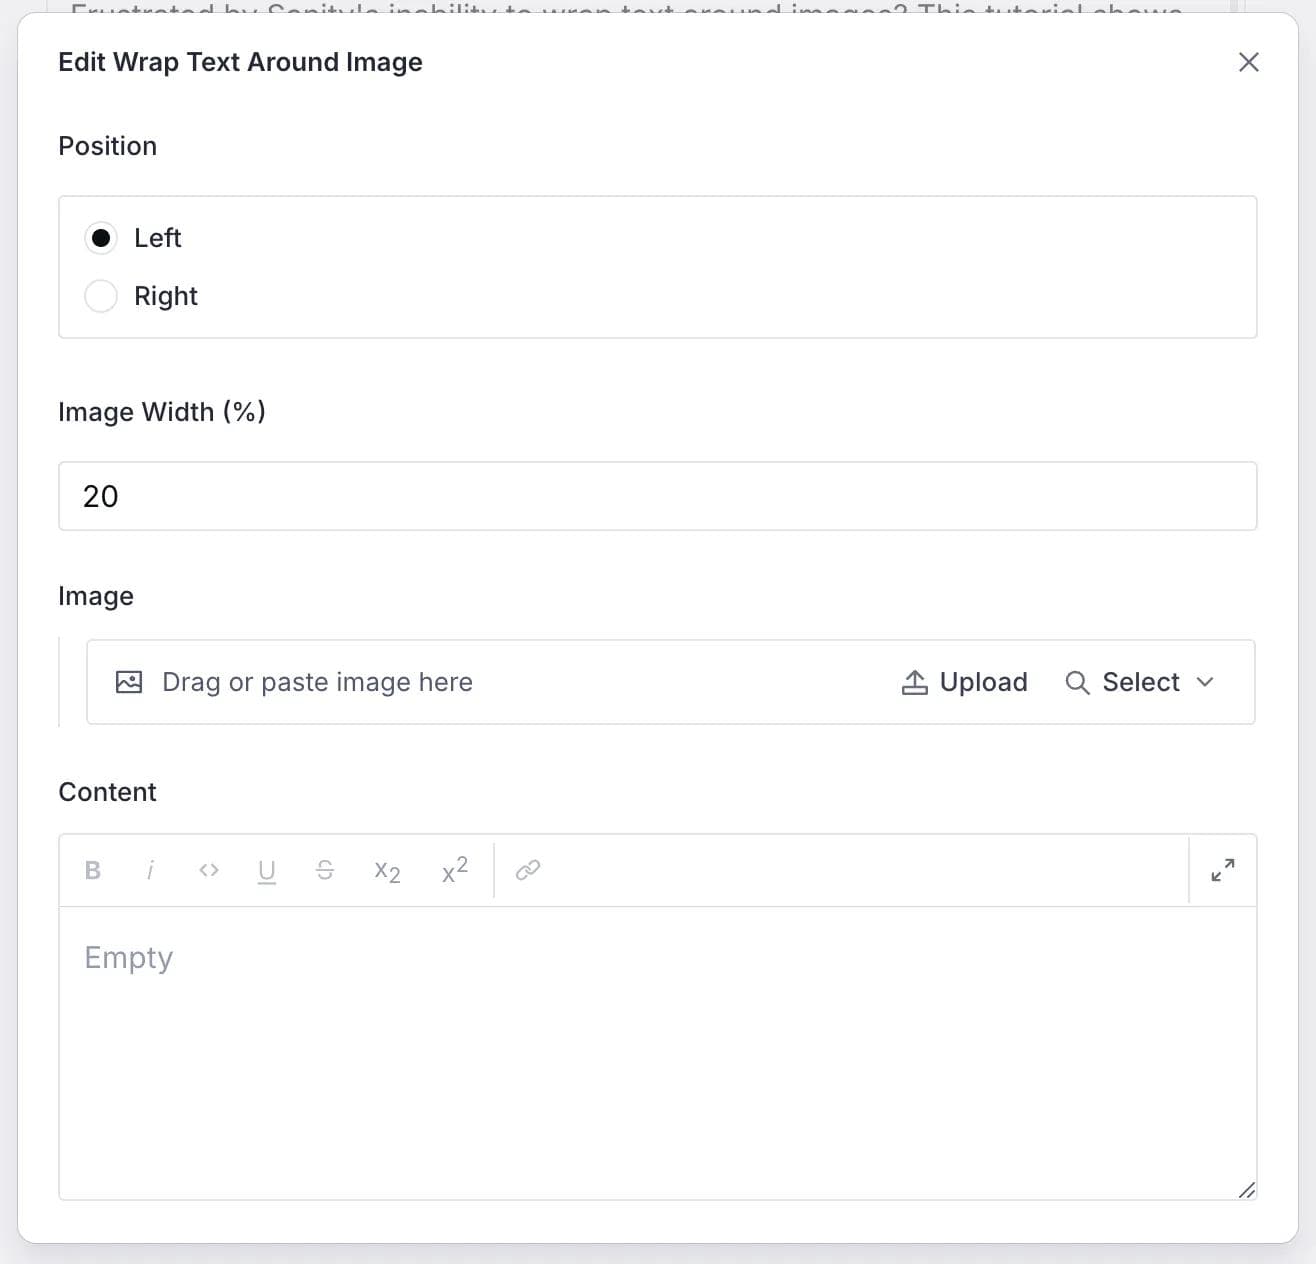
In this tutorial, we'll solve this problem by building a custom wrapTextAroundImage
component for Sanity that gives your content editors the power to float images to the left or right of text, control image width, and maintain a clean reading experience.
By the end of this tutorial, you'll be able to:
Our solution involves creating a custom Portable Text block type in Sanity that combines an image with associated content, along with controls for positioning and width. This component will:
Example component input:
Example 1 component output:
(The following text and image come from A Tale of Cities.)
"It was the best of times, it was the worst of times, it was the age of wisdom, it was the age of foolishness, it was the epoch of belief, it was the epoch of incredulity, it was the season of Light, it was the season of Darkness, it was the spring of hope, it was the winter of despair, we had everything before us, we had nothing before us, we were all going direct to Heaven, we were all going direct the other way--in short, the period was so far like the present period that some of its noisiest authorities insisted on its being received, for good or for evil, in the superlative degree of comparison only."
Example 2 component output:
(The following text and image come from The White Darkness piece, written in The New Yorker Magazine in 2018. A user on StackOverflow asked how he could recreate this specific figure with Sanity CMS.)
"In 2012, Worsley launched a new expedition, to mark the centennial of the race between Amundsen and Scott to the South Pole. Gow and Adams, who had married and settled down with families, declined to go, and so Worsley drew recruits from the military. He and a partner, Lou Rudd, followed the trail of Amundsen and raced against another party, which took the route of Scott. Once more, Worsley proved an extraordinary commander—Rudd called him a “true inspiration”—and they won the nine-hundred-mile contest, which raised nearly three hundred thousand dollars for a Royal British Legion fund that assists wounded soldiers."
The implementation leverages Sanity's Portable Text for structured content handling while adding custom controls for the visual presentation. On the frontend, we'll use CSS floats with appropriate margins to create the text wrapping effect.
This approach is superior to alternatives like using fixed-position components or grid-based layouts because it:
Sanity CMS is built around the concept of structured content, which separates content from presentation. While this provides excellent flexibility and reusability, it can make certain common layout patterns challenging to implement.
By default, Sanity's Portable Text editor treats images as block-level elements that occupy the full width of their container. This creates a disconnected experience where text appears either above or below images, rather than flowing around them.
Content editors coming from traditional WYSIWYG editors expect the ability to position images within text—a fundamental layout capability that enhances readability and visual appeal. Without this option, content can feel clunky and overly structured.
The technical challenges we need to overcome include:
Let's break down the implementation process into manageable steps:
First, we need to define our custom wrapTextAroundImage
schema in Sanity. This will form the foundation of our component.
1// schemas/objects/wrapTextAroundImage.ts
2
3export const wrapTextAroundImage = {
4 name: 'wrapTextAroundImage',
5 title: 'Wrap Text Around Image',
6 type: 'object',
7 fields: [
8 {
9 name: 'image',
10 title: 'Image',
11 type: 'image',
12 options: {
13 hotspot: true,
14 },
15 fields: [
16 {
17 name: 'alt',
18 title: 'Alternative Text',
19 type: 'string',
20 description: 'Important for accessibility and SEO',
21 },
22 {
23 name: 'caption',
24 title: 'Caption',
25 type: 'string',
26 description: 'Optional caption to display below the image',
27 },
28 ],
29 },
30 {
31 name: 'position',
32 title: 'Position',
33 type: 'string',
34 options: {
35 list: [
36 { title: 'Left', value: 'left' },
37 { title: 'Right', value: 'right' },
38 ],
39 layout: 'radio',
40 },
41 initialValue: 'left',
42 },
43 {
44 name: 'width',
45 title: 'Width (%)',
46 type: 'number',
47 description: 'Width of the image as percentage of container',
48 validation: (Rule) => Rule.min(10).max(60),
49 initialValue: 30,
50 },
51 {
52 name: 'content',
53 title: 'Content',
54 type: 'array',
55 of: [{ type: 'block' }],
56 description: 'Text that will wrap around the image',
57 },
58 ],
59 preview: {
60 select: {
61 image: 'image',
62 position: 'position',
63 width: 'width',
64 },
65 prepare({ image, position, width }) {
66 return {
67 title: 'Text with Wrapped Image',
68 subtitle: `Position: ${position || 'left'}, Width: ${width || 30}%`,
69 media: image,
70 };
71 },
72 },
73};
This schema creates a complex object that includes:
The preview
configuration ensures that the component is easily identifiable in the Sanity Studio interface, showing a thumbnail of the selected image and the positioning details.
Next, we need to integrate our new component with existing document schemas so that it's available to content editors.
1// schemas/documents/post.ts
2
3export const post = {
4 name: 'post',
5 title: 'Blog Post',
6 type: 'document',
7 fields: [
8 // ... existing fields like title, slug, etc.
9 {
10 name: 'content',
11 title: 'Content',
12 type: 'array',
13 of: [
14 { type: 'block' },
15 { type: 'image' },
16 // Add our new component to the available block types
17 { type: 'wrapTextAroundImage' }
18 ],
19 },
20 ],
21 // ... rest of schema
22};
Now we need to create the frontend component that will render our custom block type. This is where the magic happens, transforming the structured content into a visually appealing layout.
Based on the code you provided, let's build out a complete implementation:
1// components/PortableText.tsx
2
3import {
4 type PortableTextComponents,
5 PortableText as SanityPortableText,
6} from '@portabletext/react';
7import { PortableTextObject } from 'sanity';
8
9import { cn } from '@kit/ui/utils';
10
11import { SanityImage } from './SanityImage';
12
13export function PortableText({ value }) {
14 const components = {
15 types: {
16 wrapTextAroundImage: ({ value }) => {
17 const { image, position = 'left', width = 30, content } = value;
18 const floatClass = 'left'
19 ? 'float-left mr-6'
20 : 'float-right ml-6';
21 return (
22 <div className="clear-both">
23 <figure
24 className={cn(floatClass, 'relative mb-4')}
25 style={{ width: `${width}%` }}
26 >
27 <SanityImage image={image} />
28 {image.caption && (
29 <figcaption className="mt-2 text-center text-sm">
30 {image.caption}
31 </figcaption>
32 )}
33 </figure>
34 <PortableText value={content} />
35 </div>
36 );
37 },
38 // ... other custom components
39 },
40 // ... mark components, list components, etc.
41 };
42
43 return (
44 <div className="prose">
45 <SanityPortableText components={components} value={value} />
46 </div>
47 );
48}
This component:
@portabletext/react
wrapTextAroundImage
block typeimage
, position
, width
, and content
from the block valuePortableText
componentThe CSS classes float-left
and float-right
are used to create the text wrapping effect, while the margins (mr-6
and ml-6
) ensure there's adequate spacing between the image and the text.
After implementing the component, it's essential to test it thoroughly in various scenarios. Let's check for:
Based on testing, we might need to add additional CSS to handle edge cases:
1/* styles/components/portableText.css */
2
3/* Clear floats at the end of content sections to prevent layout issues */
4.portable-text-content::after {
5 content: "";
6 display: table;
7 clear: both;
8}
9
10/* Responsive adjustments for small screens */
11@media (max-width: 640px) {
12 .portable-text-content figure.float-left,
13 .portable-text-content figure.float-right {
14 float: none;
15 width: 100% !important;
16 margin-left: 0;
17 margin-right: 0;
18 }
19}
After implementing all the steps, content editors can now:
The end result is a more professional, magazine-like layout that improves readability and visual interest; Text wraps nicely around the image, providing a natural reading flow while integrating visual elements directly with the content.
1├─ schemas/
2│ ├─ documents/
3│ │ └─ post.ts
4│ ├─ objects/
5│ │ └─ wrapTextAroundImage.ts
6│ └─ index.ts
7├─ components/
8│ ├─ PortableText.tsx
9│ └─ SanityImage.tsx
10├─ styles/
11│ └─ components/
12│ └─ portableText.css
13└─ pages/
14 └─ [...slug].tsx
In this tutorial, we've successfully implemented a custom component in Sanity CMS that allows content editors to wrap text around images — a fundamental layout capability that's missing from Sanity's default toolkit.
By creating a specialized block type with intuitive controls for positioning and width, we've significantly enhanced the content editing experience. The solution provides:
This implementation demonstrates how Sanity's flexibility allows you to extend its capabilities to match the expectations of content editors coming from traditional WYSIWYG editors, without sacrificing the benefits of structured content.
To build on this implementation, consider:
Learn how to add the missing "Open in New Tab" option to Sanity CMS links. This step-by-step guide shows you how to customize link annotations and properly implement frontend rendering for better content management.
In this tutorial, you will learn how to extend Sanity CMS with custom superscript and subscript decorators for block array fields.
Eliminate timezone headaches in Sanity CMS with the rich-date-input plugin. Learn how to prevent publishing date confusion and ensure consistent datetime display for global teams with this simple yet powerful solution.