When migrating from platforms like Webflow or WordPress to Sanity CMS, content editors often encounter friction when they discover that standard features they previously took for granted are no longer available out of the box. One of the most commonly requested features is the ability to choose whether a link opens in the same tab or a new tab.
While Sanity's Portable Text offers powerful, rich text editing capabilities, the default link annotation doesn't include this option. This limitation can be particularly frustrating for teams who are used to having granular control over their content presentation, especially when migrating large amounts of content from other platforms.
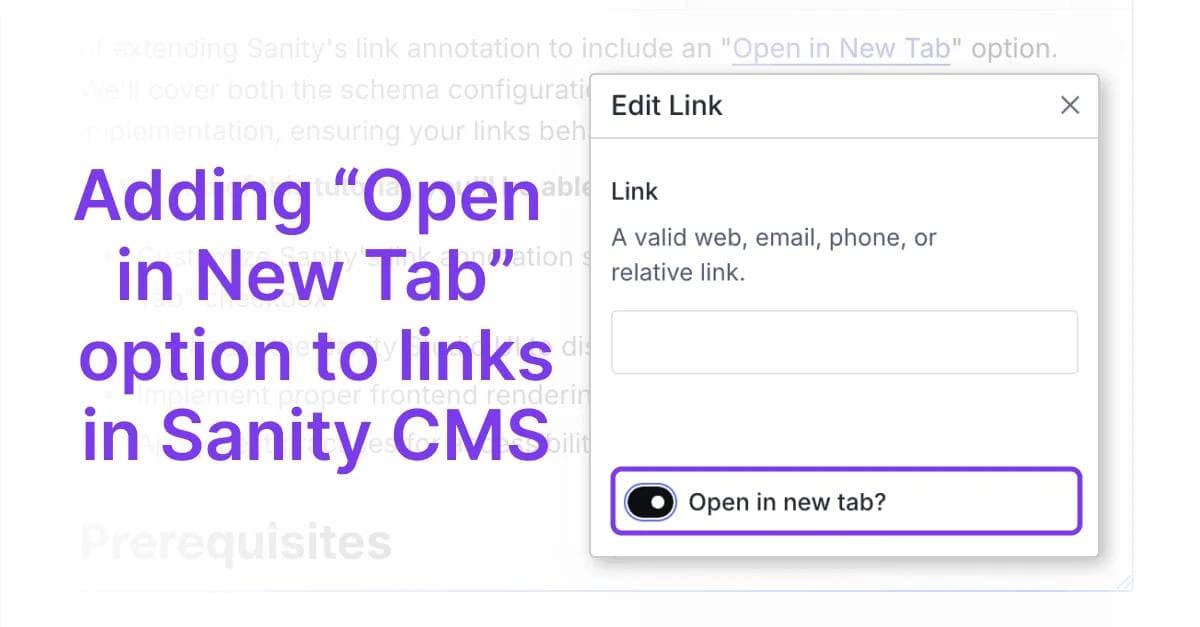
In this tutorial, we'll walk through the process of extending Sanity's link annotation to include an "Open in New Tab" option. We'll cover both the schema configuration in Sanity Studio and the frontend implementation, ensuring your links behave exactly as expected.
By the end of this tutorial, you'll be able to:
Customize Sanity's link annotation schema to include an "Open in New Tab" checkbox
Configure the Sanity Studio UI to display this option to your content editors
Implement proper frontend rendering that respects the new tab setting
Apply best practices for accessibility and SEO when handling links
Prerequisites
Before we begin, you should have:
A working Sanity CMS project with access to schema files
Basic knowledge of JavaScript and React
Familiarity with Sanity's Portable Text concept
A frontend application (Next.js, Gatsby, etc.) to render your Sanity content
Node.js and npm/yarn are installed on your development machine
Solution Overview
The solution we'll implement involves three main components:
Custom Link Annotation Schema: We'll extend Sanity's default link schema to include a boolean field for the "Open in New Tab" option.
Custom Form Component: We'll create a custom form component for Sanity Studio that adds a checkbox to the link dialog, allowing content editors to control the tab behavior.
Frontend Rendering Logic: We'll update our frontend code to check for this new property and add the appropriate target="_blank" and rel="noopener noreferrer" attributes when necessary.
This approach is recommended because:
It's non-intrusive and works alongside Sanity's existing link functionality
It doesn't require modifying Sanity's core code
It provides a clean, intuitive interface for content editors
It properly handles SEO and security concerns with external links
Let's dive into the implementation!
Step 1: Understanding the Default Link Structure
What Does Sanity's Default Link Annotation Look Like?
Before we customize the link behavior, let's understand how Sanity structures link annotations by default.
In Sanity's Portable Text, links are implemented as "annotations" that can be applied to spans of text. The default link annotation schema is quite simple:
We've added a new boolean field called blank that will store whether the link should open in a new tab. We've set its initial value to false so that links open in the same tab by default.
Step 3: Updating Your Block Content Schema
Integrating the Custom Link with Block Content
Now that we have our custom link annotation, we need to make sure it's used in our block content fields. Let's update our block content schema:
schemas/blockContent.js
import link from './annotations/link'export default { title: 'Block Content', name: 'blockContent', type: 'array', of: [ { title: 'Block', type: 'block', marks: { annotations: [ link // Other annotations... ] } }, // Other block content types... ]}
Make sure that the blockContent schema (or whatever you've named your rich text field) is using the link annotation we defined.
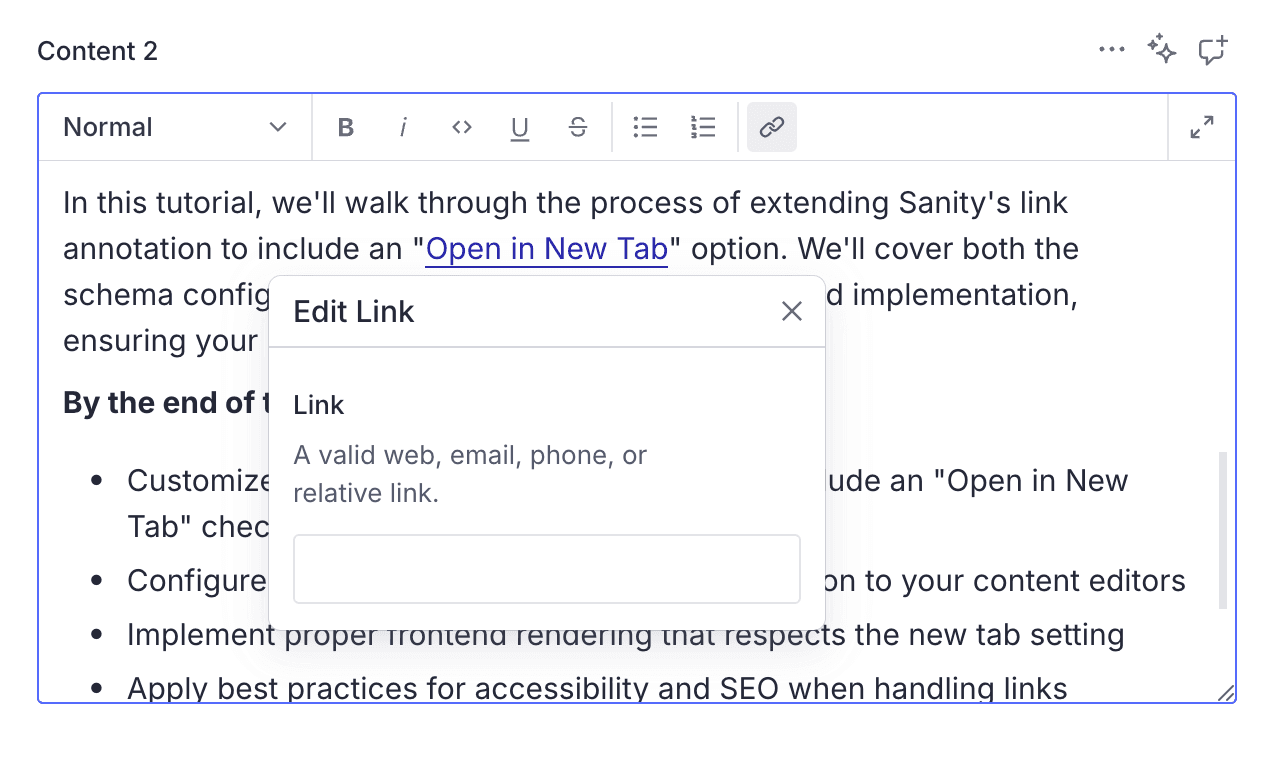
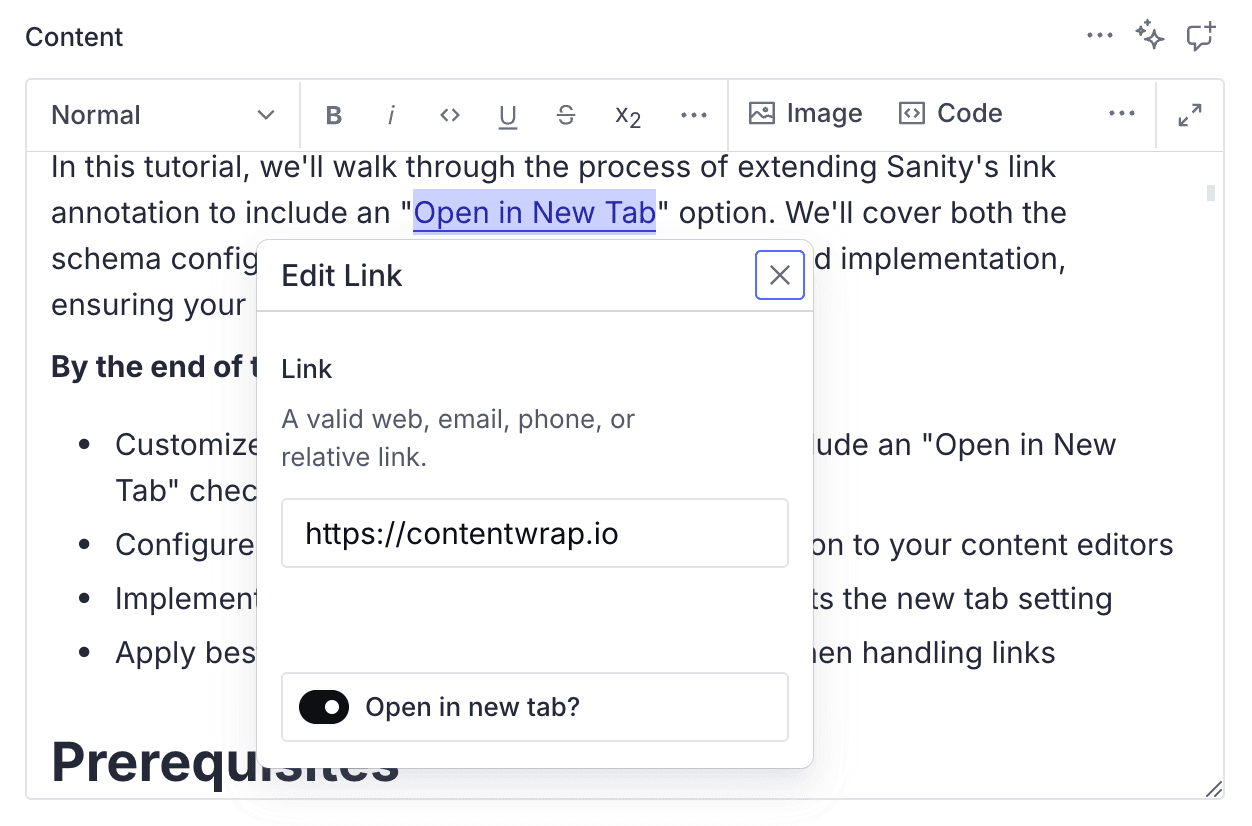
At this point, when you restart your Sanity Studio, content editors should see a checkbox in the link dialog:
Step 4: Implementing Frontend Rendering
Rendering Links with the Correct Behavior
Now that our Sanity schema is updated, we need to modify our frontend code to respect the blank property when rendering links.
If you're using @portabletext/react for rendering (recommended for newer projects), here's how you can customize the link component:
components/PortableText.jsx
import { PortableText } from '@portabletext/react'import Link from 'next/link' // Assuming Next.js usageconst components = { marks: { link: ({value, children}) => { const { href, blank } = value // Check if it's an internal or external link const isExternal = href && ( href.startsWith('http') || href.startsWith('mailto:') || href.startsWith('tel:') ) // For external links if (isExternal) { return ( <a href={href} target={blank ? '_blank' : undefined} rel={blank ? 'noopener noreferrer' : undefined} > {children} </a> ) } // For internal links return ( <Link href={href}> <a target={blank ? '_blank' : undefined}> {children} </a> </Link> ) } }}const MyPortableText = ({value}) => { return <PortableText value={value} components={components} />}export default MyPortableText
If you're using the older @sanity/block-content-to-react package:
For better user experience, you might want to visually indicate links that open in new tabs. Here's a simple CSS approach:
// Modified link component with external link indicatorconst ExternalLinkIcon = () => ( <svg width="12" height="12" viewBox="0 0 12 12" fill="none" xmlns="http://www.w3.org/2000/svg" style={{ marginLeft: '0.25rem' }} > <path d="M2.5 9.5L9.5 2.5M9.5 2.5H5M9.5 2.5V7" stroke="currentColor" strokeWidth="1.5" strokeLinecap="round" strokeLinejoin="round" /> </svg>)// Then in your link component:return ( <a href={href} target={blank ? '_blank' : undefined} rel={blank ? 'noopener noreferrer' : undefined} className={blank ? 'external-link' : undefined} > {children} {blank && <ExternalLinkIcon />} </a>)
This adds a small external link icon to links that open in new tabs, providing a visual cue to users.
Step 5: Testing Your Implementation
Verifying Both the Editor and Frontend Experience
Now that we've implemented both the Sanity Studio customization and the frontend rendering, it's time to test everything:
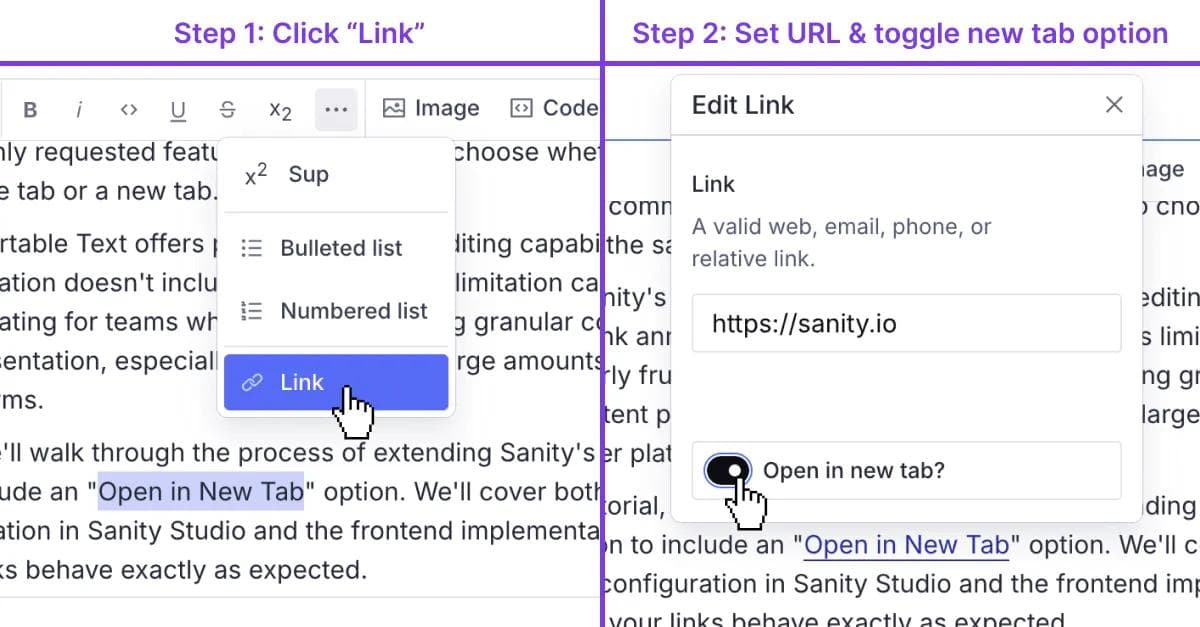
Open your Sanity Studio and navigate to a document with block content
Add a new link or edit an existing one
Notice the "Open in new tab" checkbox in the link dialog
Try creating links with and without the checkbox selected
Publish your changes and check the frontend rendering
Verify that links behave according to the selected option
Your content editors should now have a seamless experience managing link behavior, and your frontend should correctly render links with the appropriate tab behavior.
Common Issues and Troubleshooting
Problem: The "Open in New Tab" Option Doesn't Appear in Sanity Studio
Solution: This usually happens because the custom component isn't properly registered or the schema doesn't match.
Check that your sanity.json or sanity.config.js properly registers the custom component
Ensure you've restarted the Sanity Studio server after making changes
Check the browser console for any errors
Verify that the schema name matches exactly in all places (case-sensitive)
Problem: The Link Opens in the Same Tab Regardless of the Setting
Solution: This is typically a frontend rendering issue.
Check that your frontend code correctly accesses the blank property
Use your browser's developer tools to inspect the rendered HTML and verify that the target="_blank" attribute is being added
Make sure you're using the latest version of your portable text renderer
Clear your browser cache or try in an incognito window
Problem: Security Warnings About External Links
Solution: Always add proper security attributes to external links.
Make sure to include rel="noopener noreferrer" for all links that open in new tabs
This prevents potential security issues where the opened page could access your window.opener object
Problem: The Link Dialog Appears Cut Off or Styled Incorrectly
Solution: This can happen with custom components in Sanity Studio.
Make sure you're using Sanity's UI components correctly
Check for CSS conflicts if you've customized Sanity Studio's appearance
Try using Sanity's built-in styling utilities rather than custom CSS
Final Result
When properly implemented, your content editors will have a clean, intuitive interface for controlling link behavior:
And on the frontend, your links will behave exactly as specified, with proper attributes for security and accessibility:
<!-- Example of rendered HTML for links that open in new tabs --><a href="https://example.com" target="_blank" rel="noopener noreferrer"> Visit our website <svg width="12" height="12" viewBox="0 0 12 12" fill="none" xmlns="http://www.w3.org/2000/svg"> <!-- SVG path data for external link icon --> </svg></a><!-- Example of rendered HTML for links that open in the same tab --><a href="https://example.com">Visit our website</a>
Conclusion
In this tutorial, we've successfully implemented a custom "Open in New Tab" option for links in Sanity CMS. This seemingly simple feature adds significant value for content editors, especially those transitioning from platforms like Webflow or WordPress.
By extending Sanity's schema and providing a custom form component, we've enhanced the content editing experience without compromising on flexibility or performance. Our frontend implementation ensures that links behave as expected while maintaining proper security and accessibility standards.
This customization is just one example of how Sanity's flexibility allows you to create tailored content management experiences. As you grow more comfortable with Sanity's schema system, you can extend this approach to add other link-related features such as custom styling options, link tracking parameters, or even automatic external link detection.
Next Steps
Now that you've mastered link customization in Sanity, consider exploring these related topics:
Implementing custom portable text decorators for advanced text formatting
Creating a link management system for tracking and updating links across your site
Adding analytics tracking parameters to your links
Building a comprehensive style guide system within Sanity
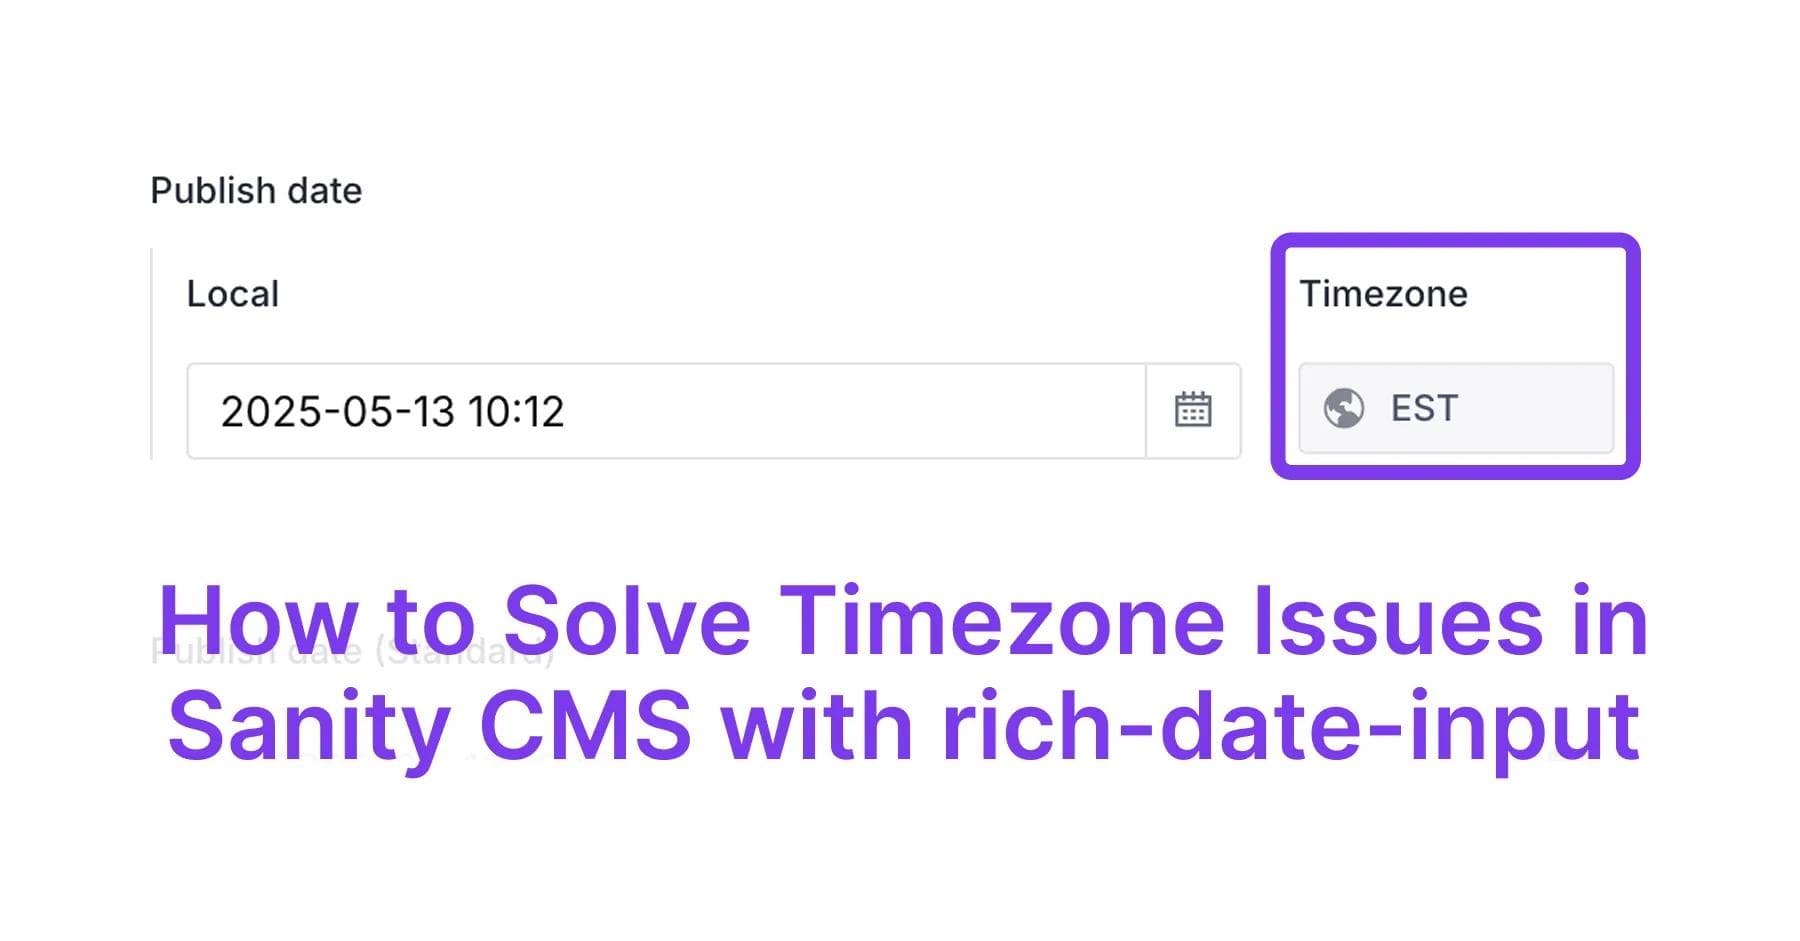
How to Solve Timezone Issues in Sanity CMS with rich-date-input: A Step-by-Step Guide
Eliminate timezone headaches in Sanity CMS with the rich-date-input plugin. Learn how to prevent publishing date confusion and ensure consistent datetime display for global teams with this simple yet powerful solution.